Love Live: Rin Hoshizora (Alter) March Edition
Nov 5, 2018 5 min read
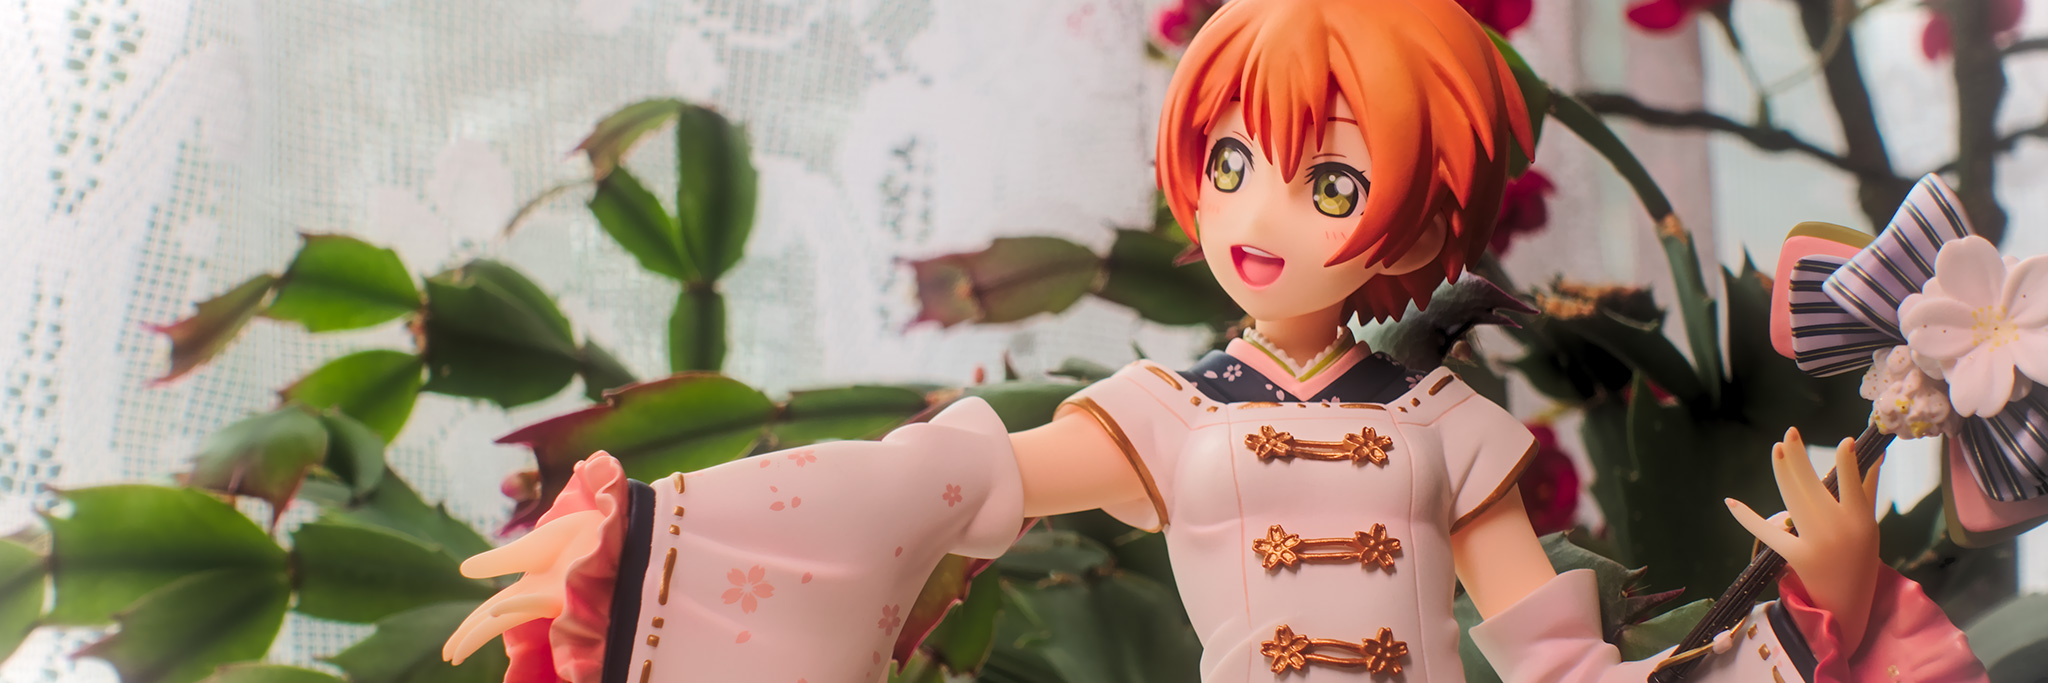 Finally, someone released a 1⁄7 scale figure for the school idol that I actually like.
This Rin is the first to be released from Alter’s second series of Love Live figures.
MyFigureCollection Database Entry
It’s not often that a character gets more than one figure from the same company (unless their name is Miku or Saber). This is the power of Love Live.
I liked many of the characters while watching the show but the only one who hasn’t faded from memory is Rin so I’ve always been on a look out for a decent scale figure from her.
However, it seemed like Rin was cursed. All of her figures are either cheap, which is expected from a show with such mainstream popularity, or just plain unappealing.
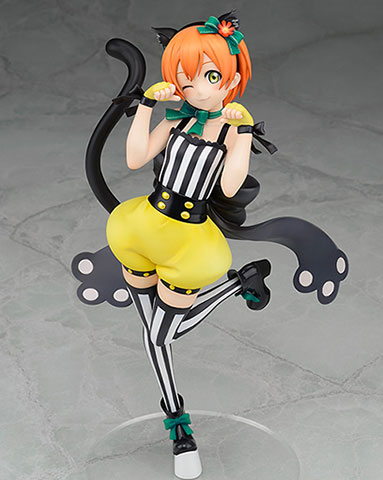
Alter’s first Rin figure went with her ugliest outfit to date. She doesn’t even match the style of the rest of the collection. It’s not like there weren’t any other cat outfits they could have gone with.
Well, other people must’ve liked it as her aftermarket price shot up. The opposite of this Rin.
Maybe because she was 125% the cost of the previous figure with a launch price of 17K.
She later dropped down to a more “reasonable” 12K during a sale which is when I picked her up.

The new figure uses this lovely outfit from the mobile game. Alter is going with pairs as the theme for their new line to guilt people into buying both.
Shame the figures themselves are set in a plain ol’ standing pose rather than the sitting-on-a-branch-together-as-besties pose. Maybe then I would have been tempted.
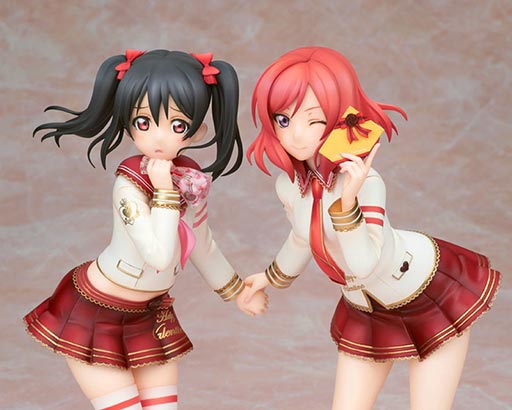
Alter did fix this in the next couple of figures. These two can’t even be separated nor should they.
The Photos
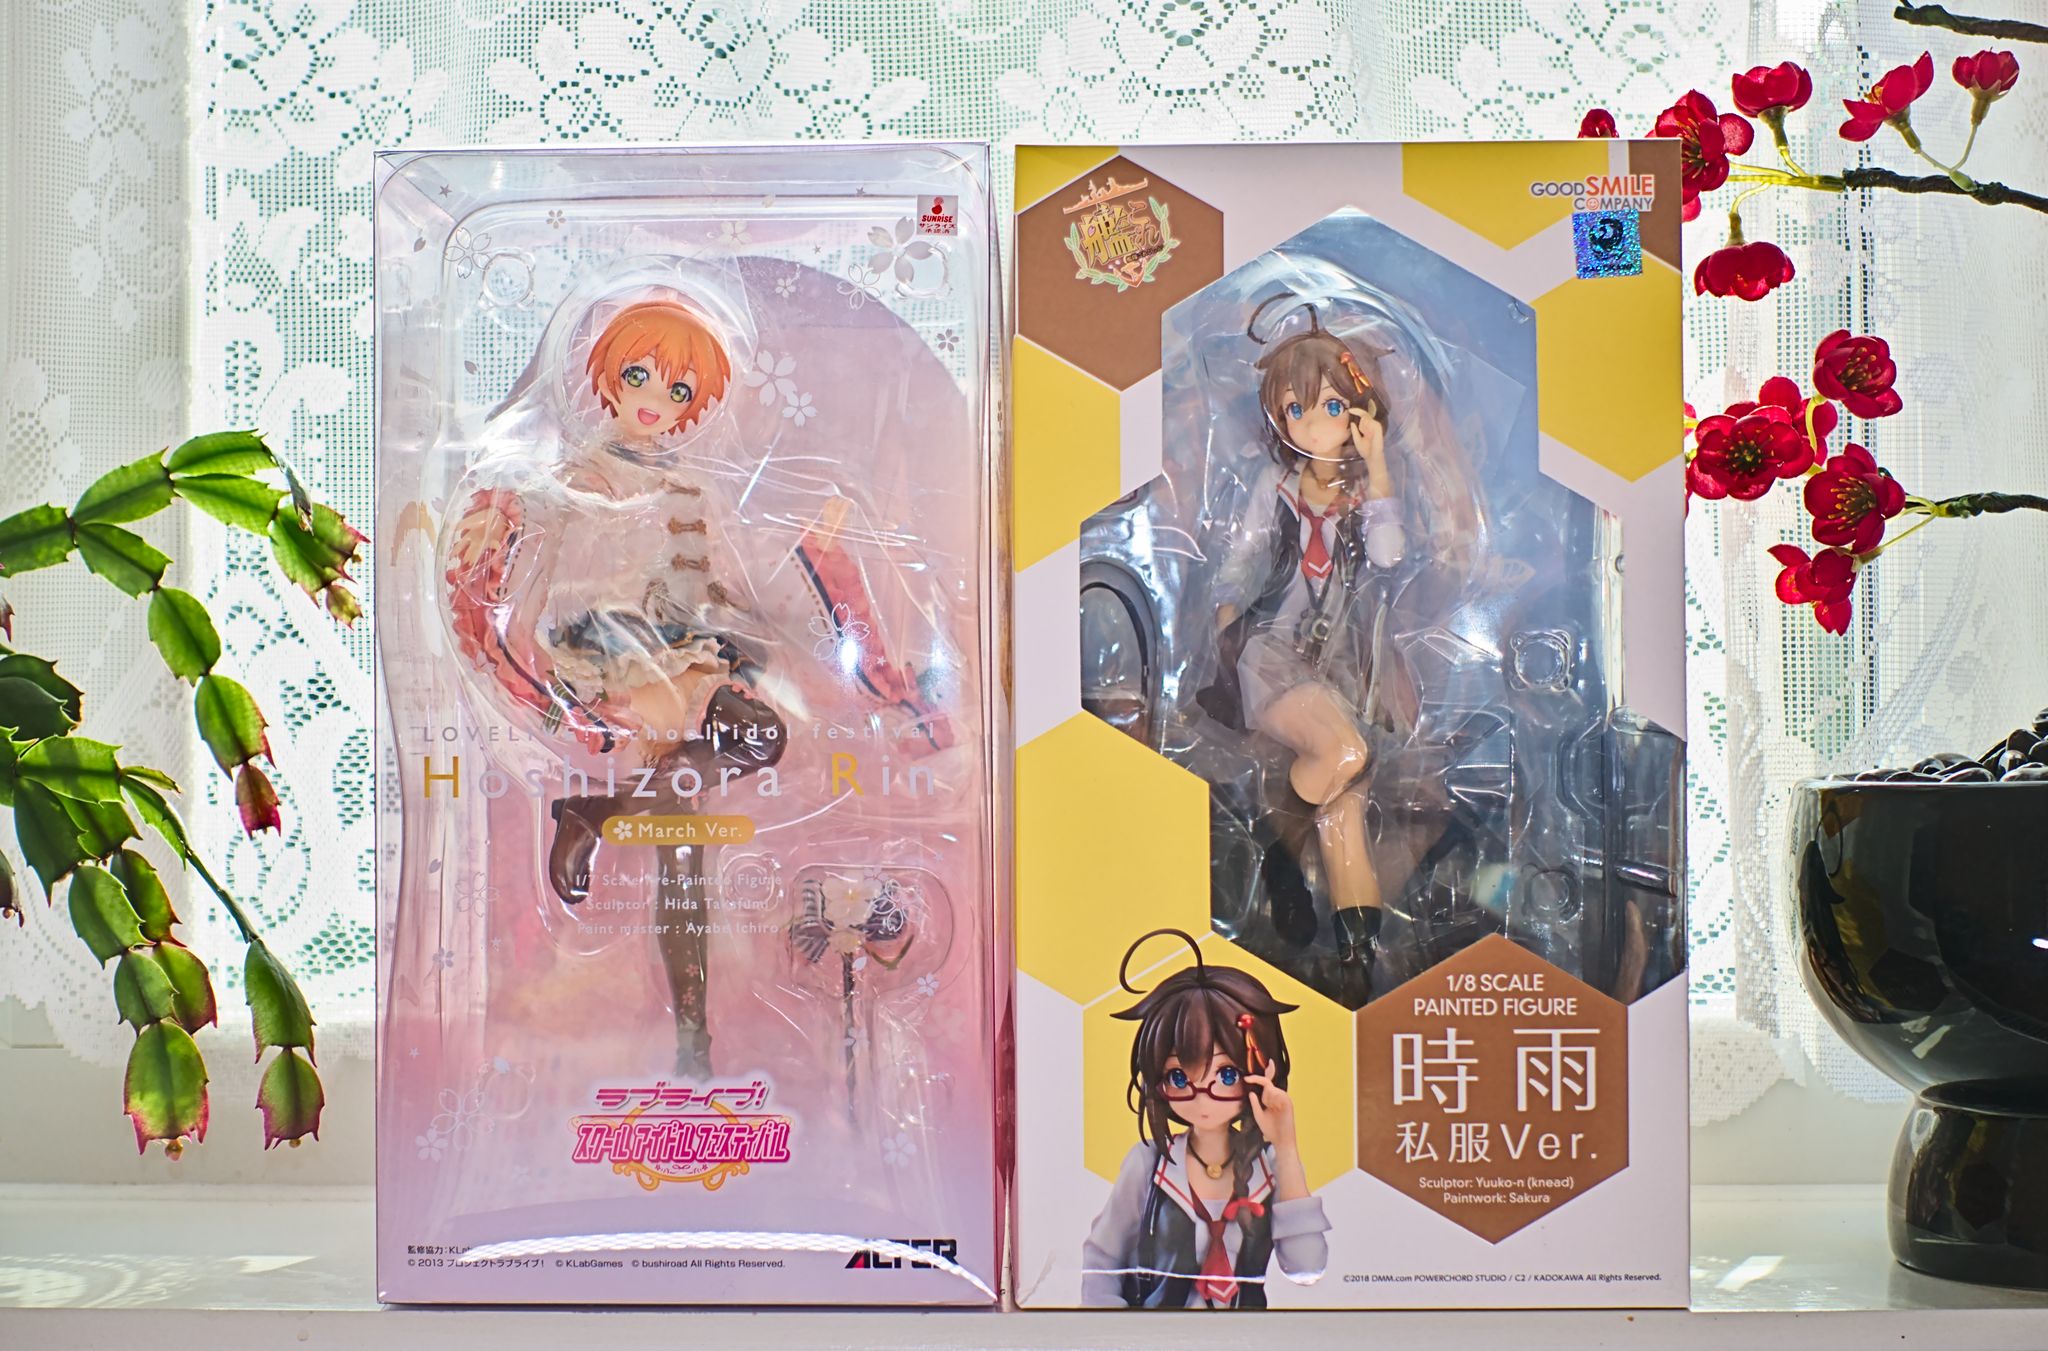 Rin comes in this clear plastic box. Pretty cool.
I’ll open Shigure later.
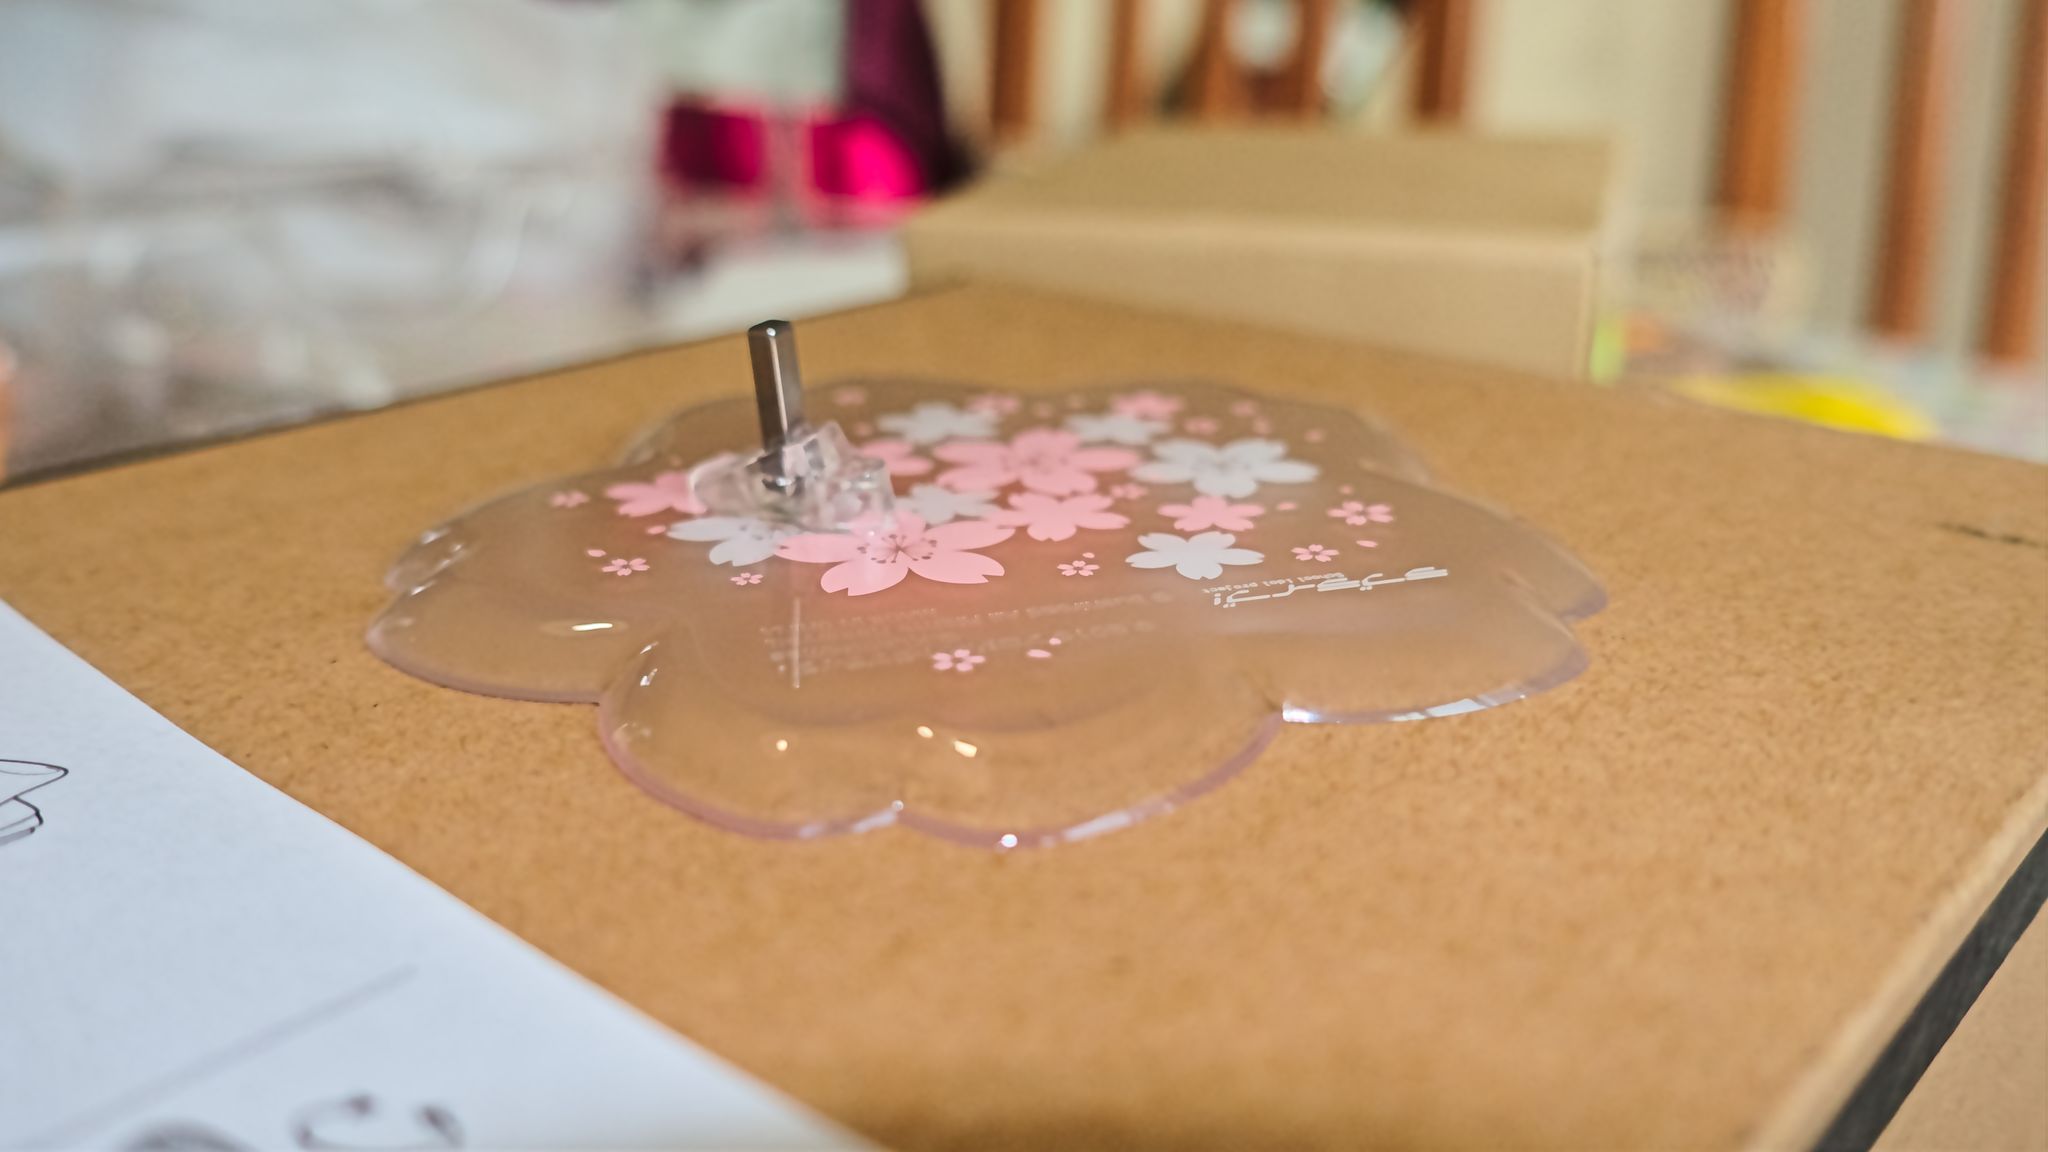 This is one thicc metal rod. Figures have come a long way since the days of the lean.
It’s a pretty adventurous base for Alter who usually just go with a circle but it fits the theme well and the petals made it easy to line the figure up with the camera.
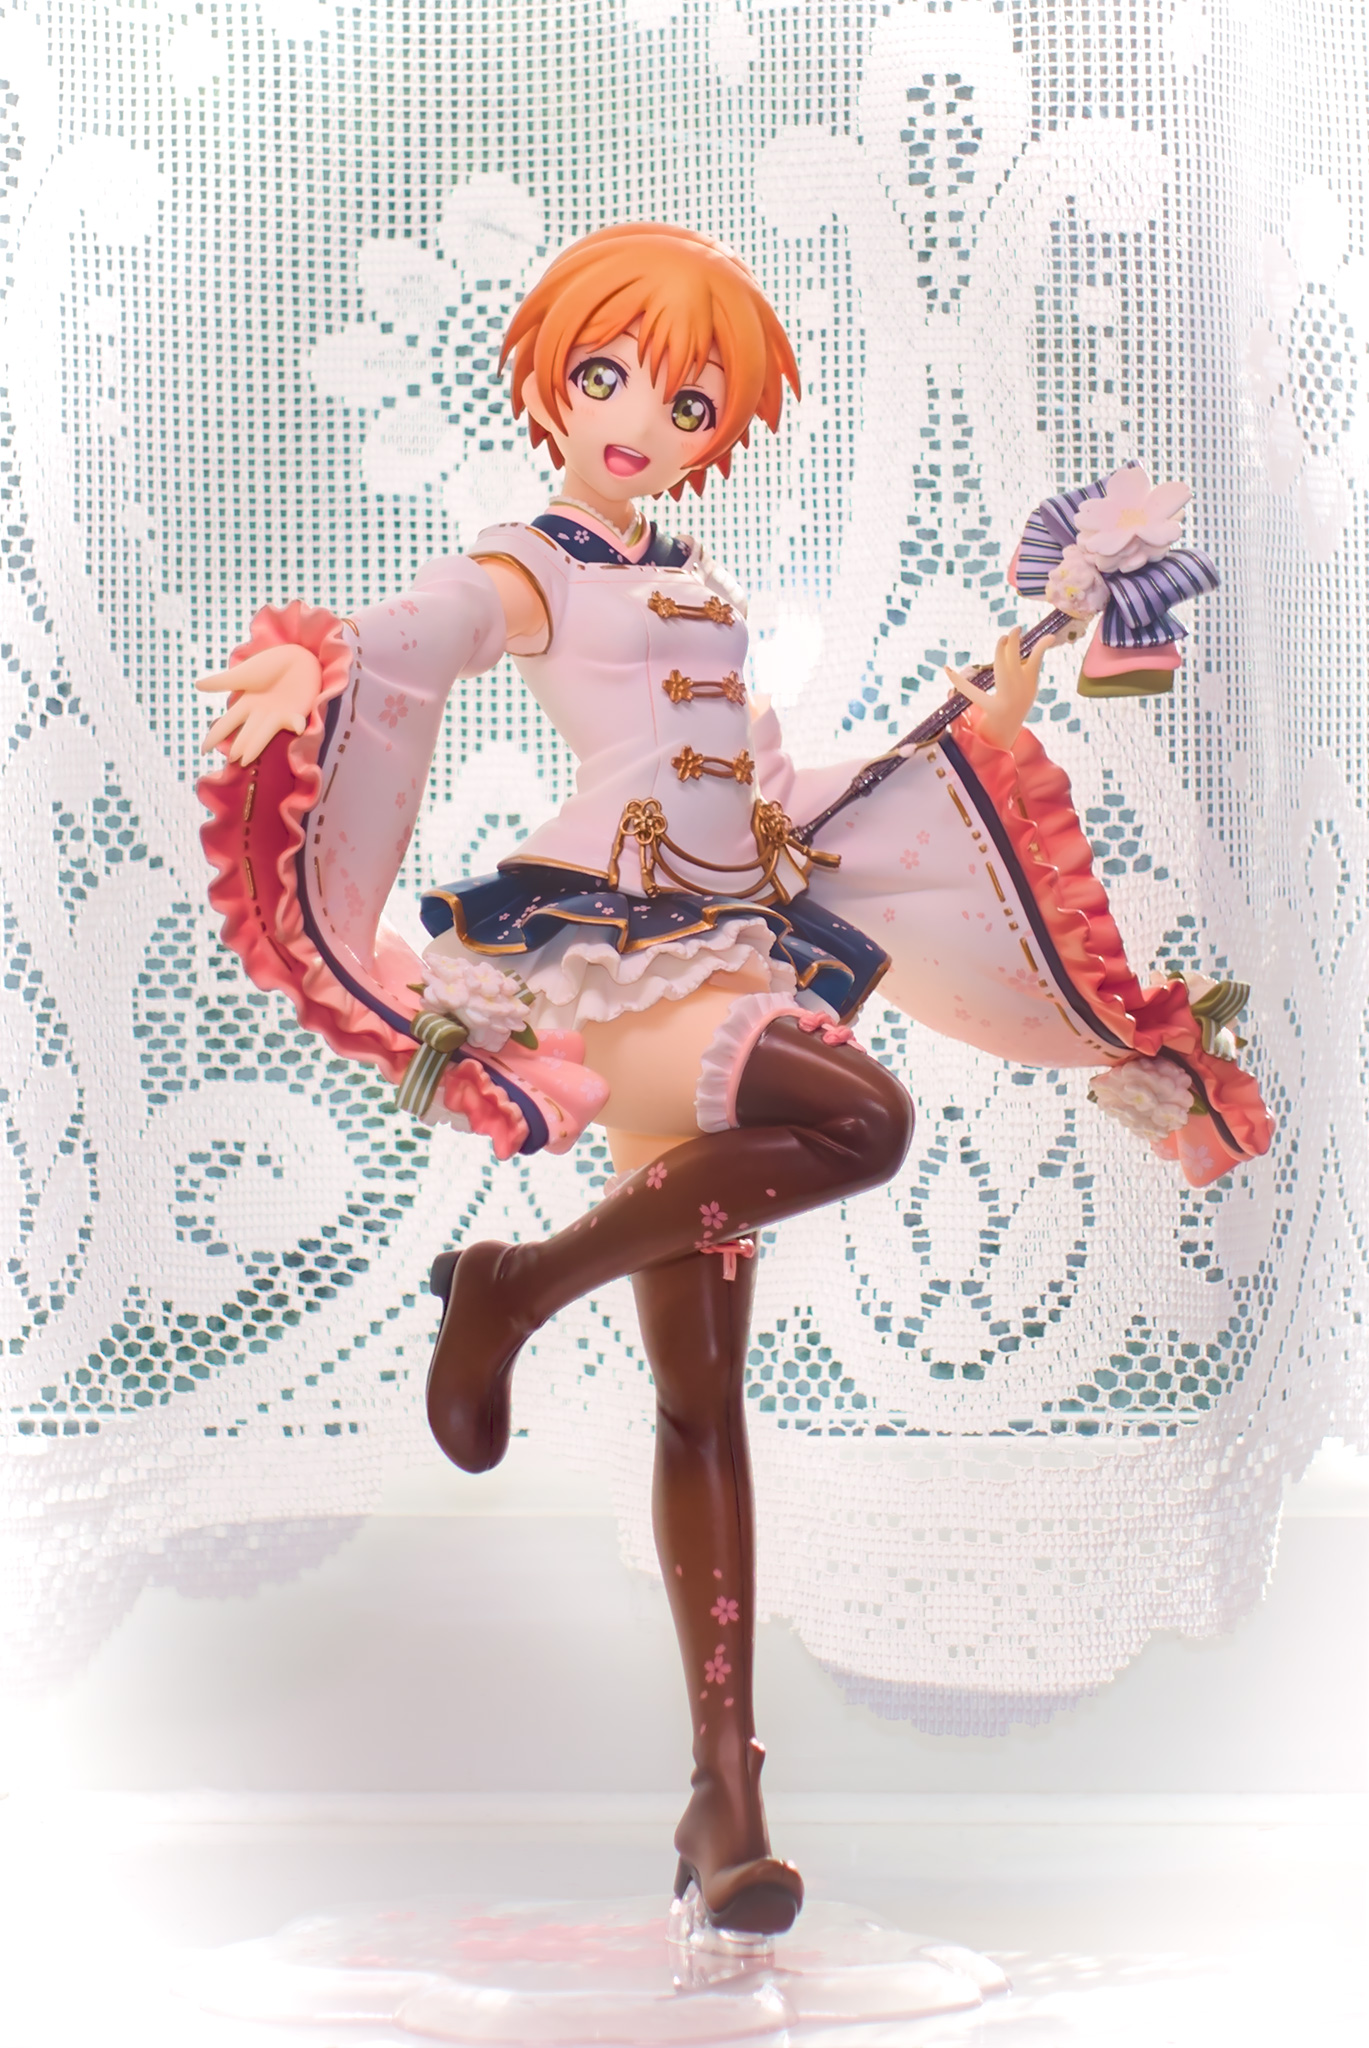 The figure itself is gorgeous. I love the frilly outfit and colours.
Rin feels full of life thanks to the mid-motion pose with the waving sleeves and tassels.
While not noticeable in the photo, the gold threads use metallic paint and there’s glitter sprinkled over the baton, giving the figure that extra bit of shine when seen in-person.
Not to mention the level of detail put into all the creases around her boots and stomach.
Overall, it perfectly captures Rin’s cuteness without resorting to making her a goof.
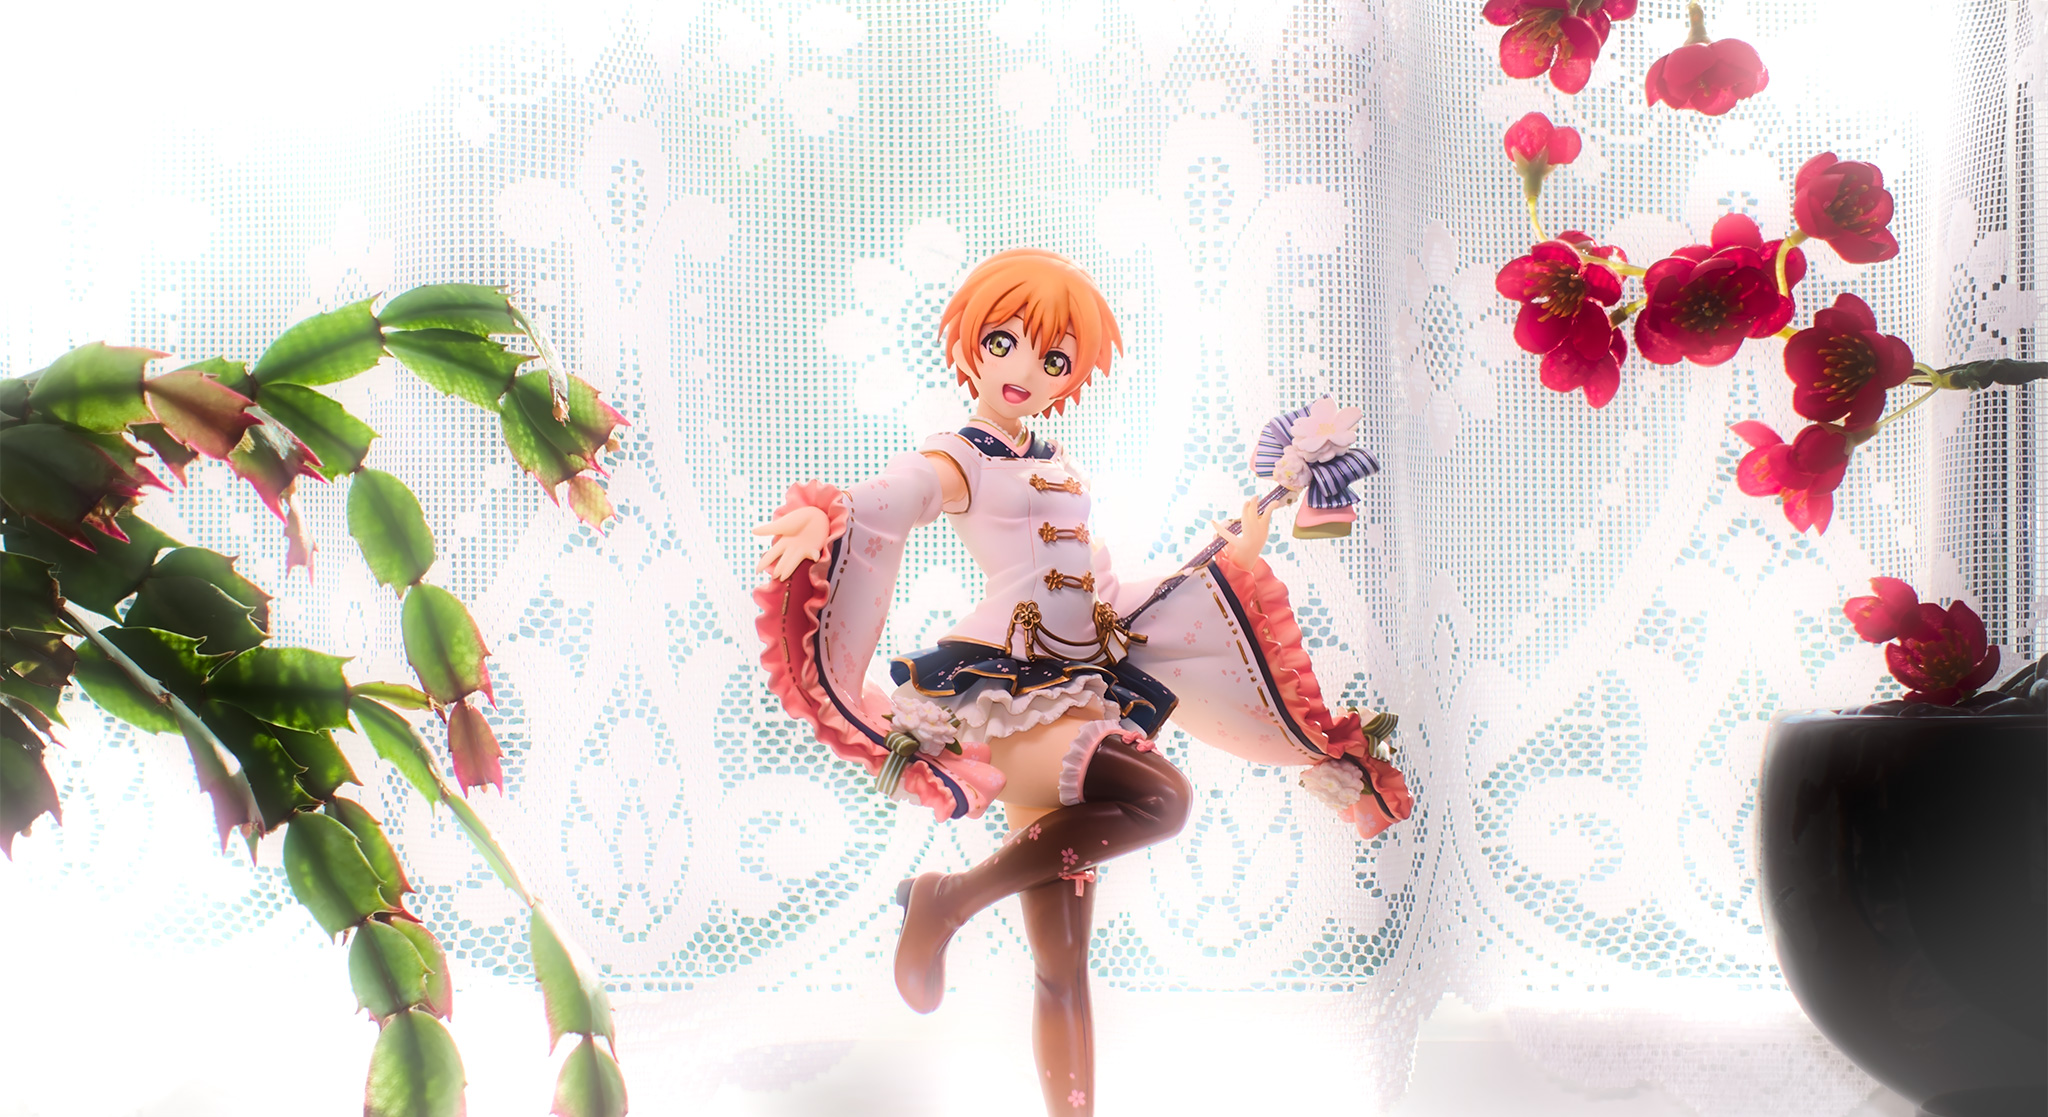 The Sun came out from behind the clouds and blew this photo to bits.
I really like it though because it led to this cool glow which reminds me of like stage lighting.
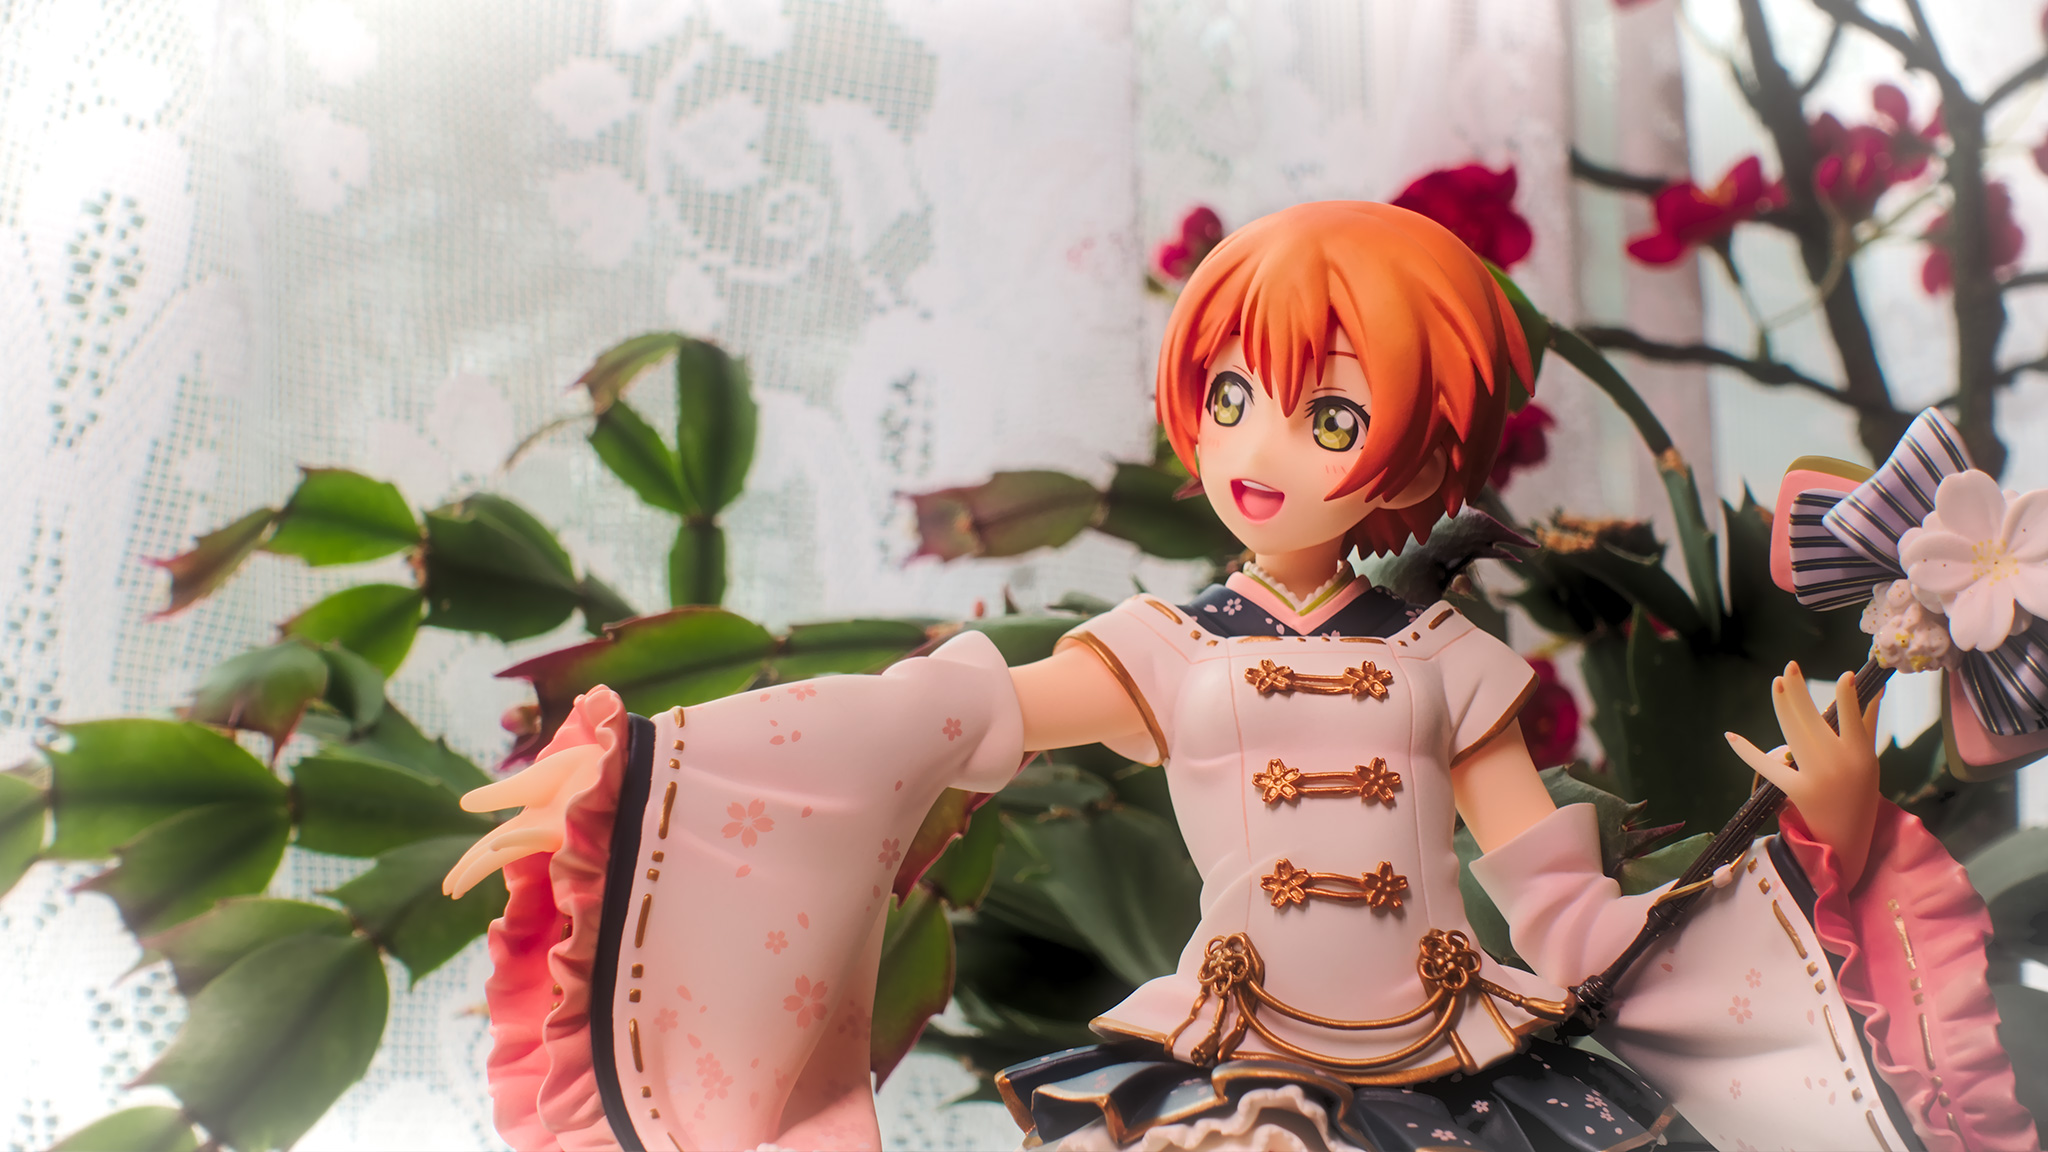 Some figures look weird from the side, not the case here.
Rin might be even prettier from this angle where you can see the full profile of her delicate fingers. The translucent effect on her hands is neat too though I’ll never be able to re-create the skin-like red glow from last time.
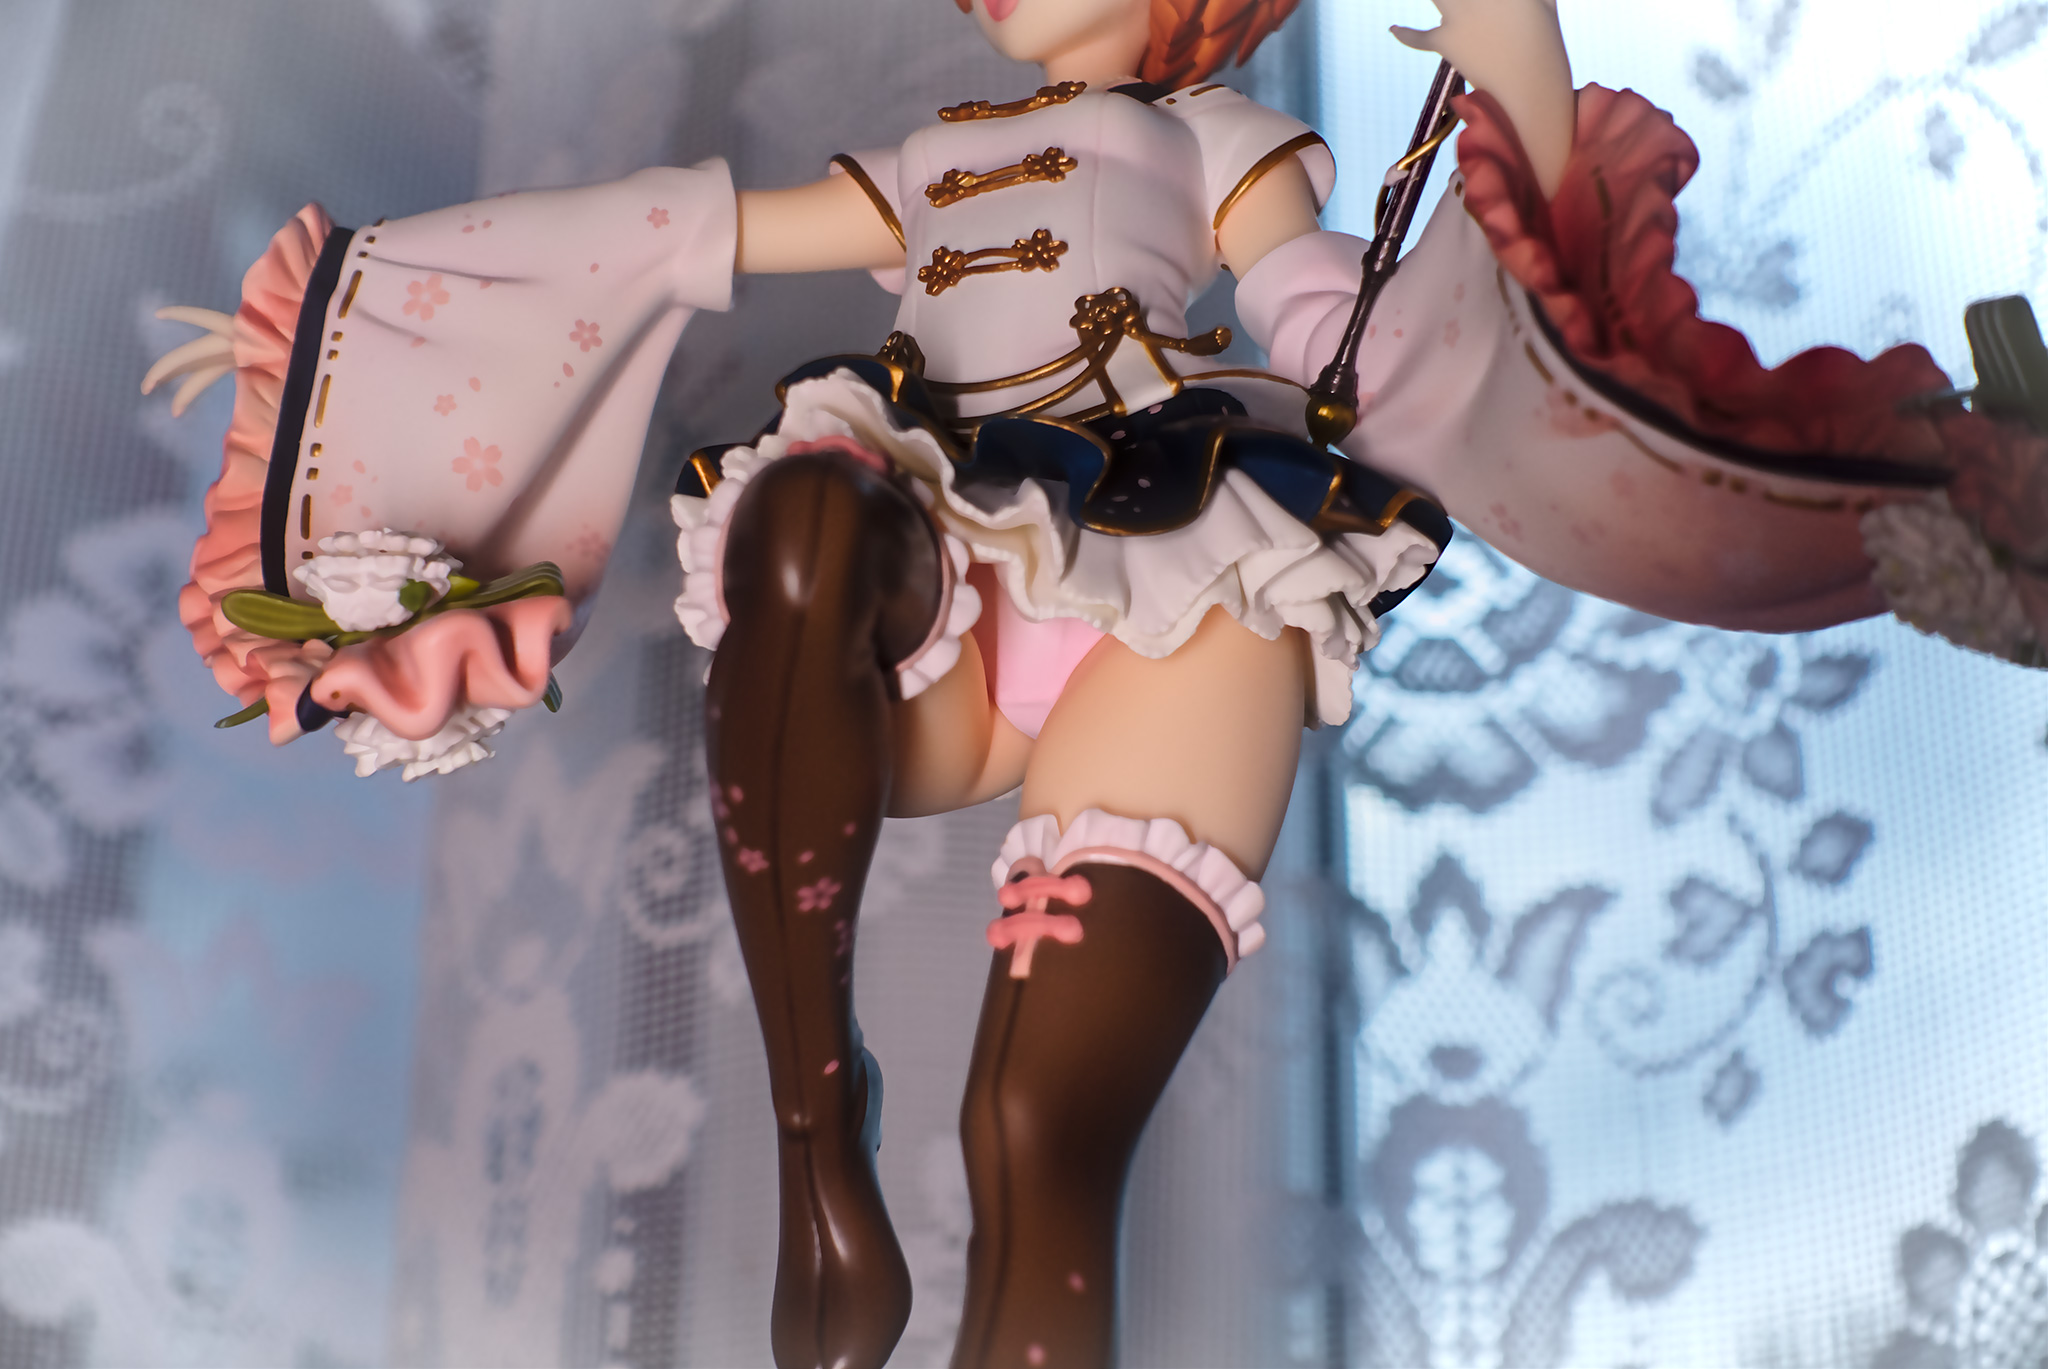 Obligatory panty shot. That thigh fold though 👀
The sculptor did a great job of making her plastic legs appear soft.
Behind the Scenes
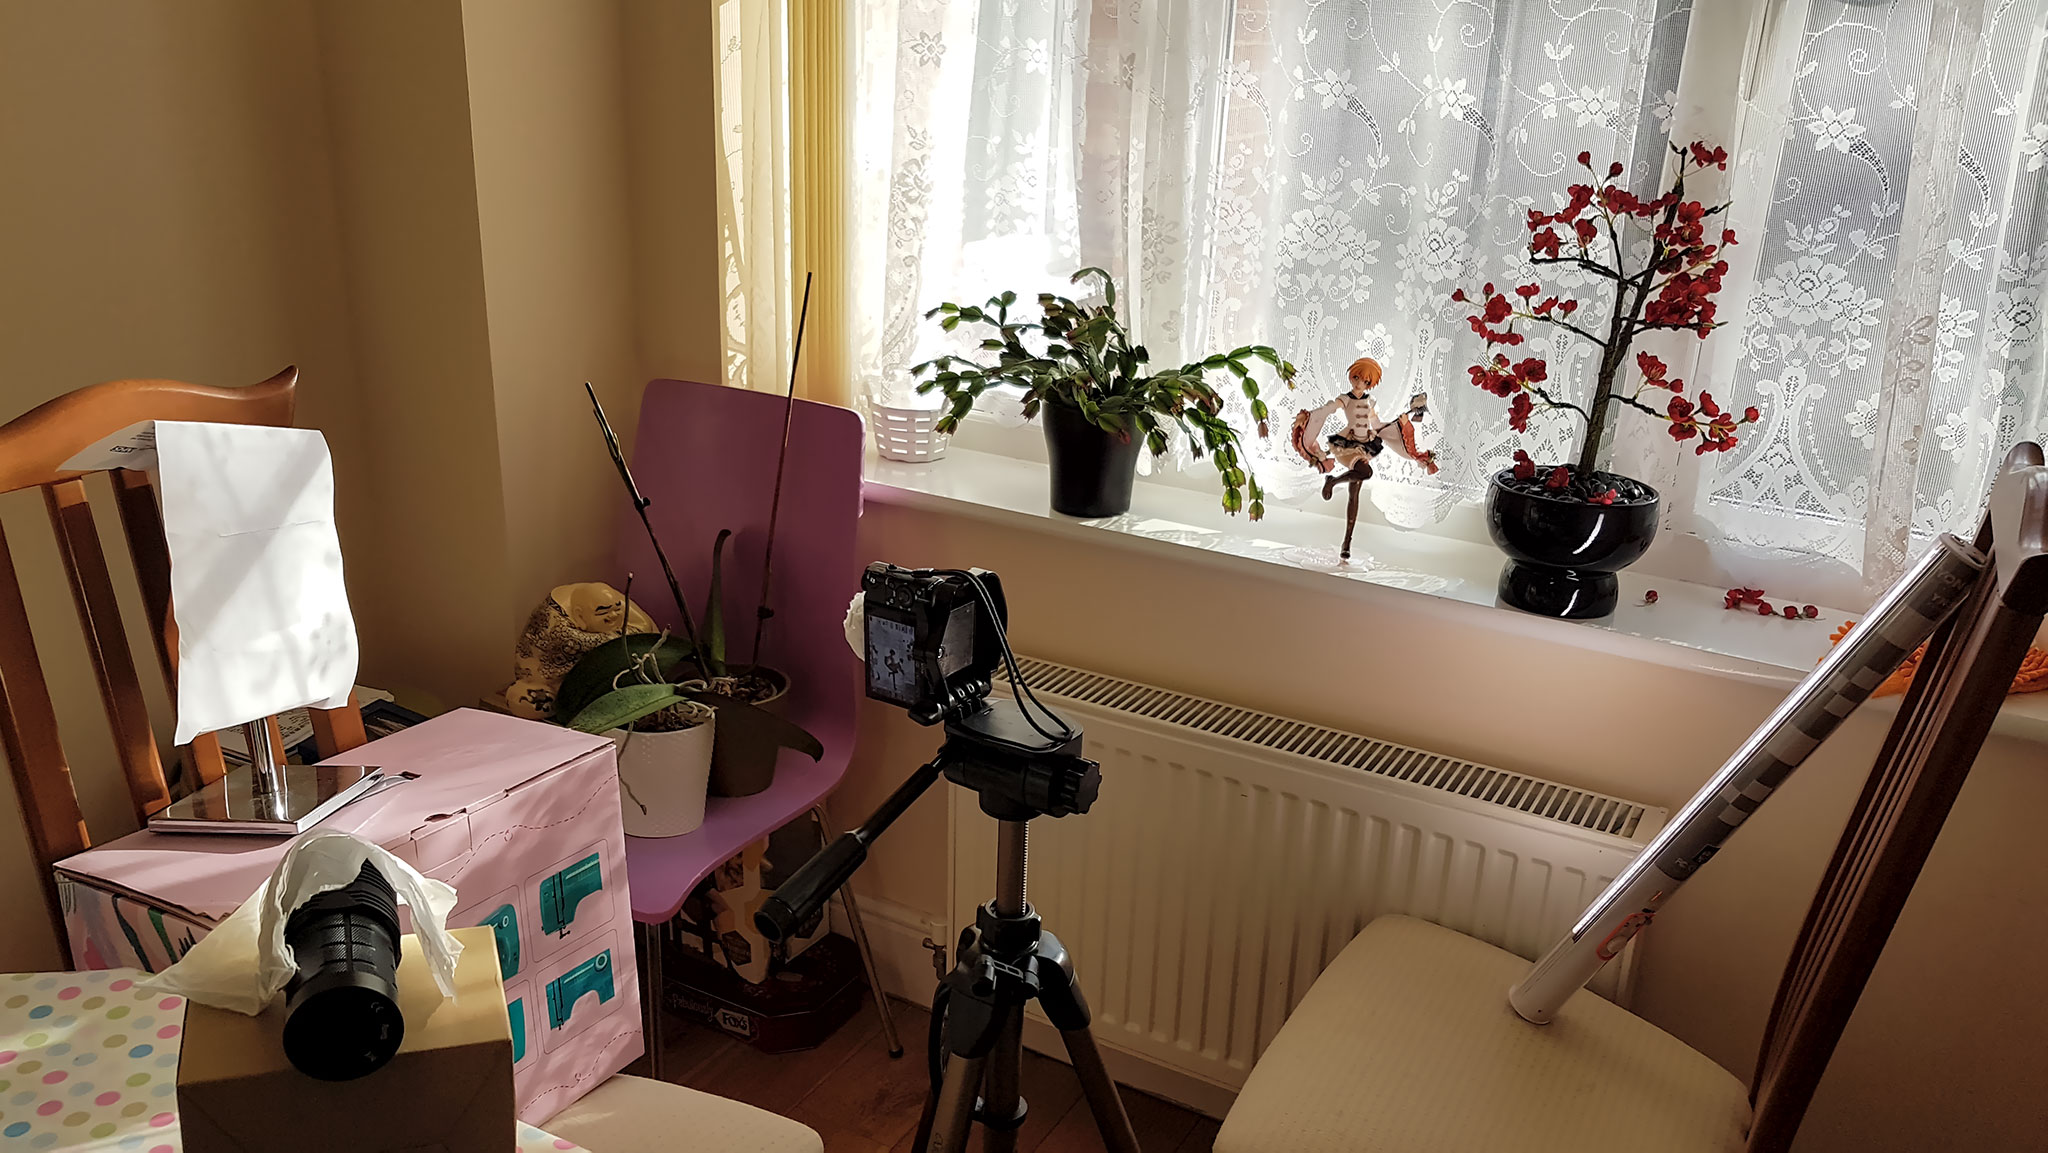 I lost one of my flashlights but I got a new light to make up for it.
The Yongnuo YN360 light wand is like a lightsaber. Its size made it easy to get nice soft lighting when held from above and it’s a lot cheaper than the alternatives. It’s a bit heavy though.
I tried covering up the other lights with tissue to make them softer but in the end I still ended up with harsh specular spots that I had to photoshop out. Glitter does not play well with flashes.
This is also the first time I’ve shot in manual mode. Winter in the UK is pretty dark and my camera had to boost its ISO (sensor sensitivity) leading to a ton of noise.
The camera’s auto mode doesn’t always know what’s best for each situation.
Such as this case where I’m shooting on a tripod. Manual mode lets me freely set the aperture (depth of field) to what I need and the ISO to minimum to reduce noise.
Then I adjust the shutter speed until the image is sufficiently lit since motion blur isn’t as issue.
I use the timer so I don’t shake the camera pressing the button. Not making that mistake again.
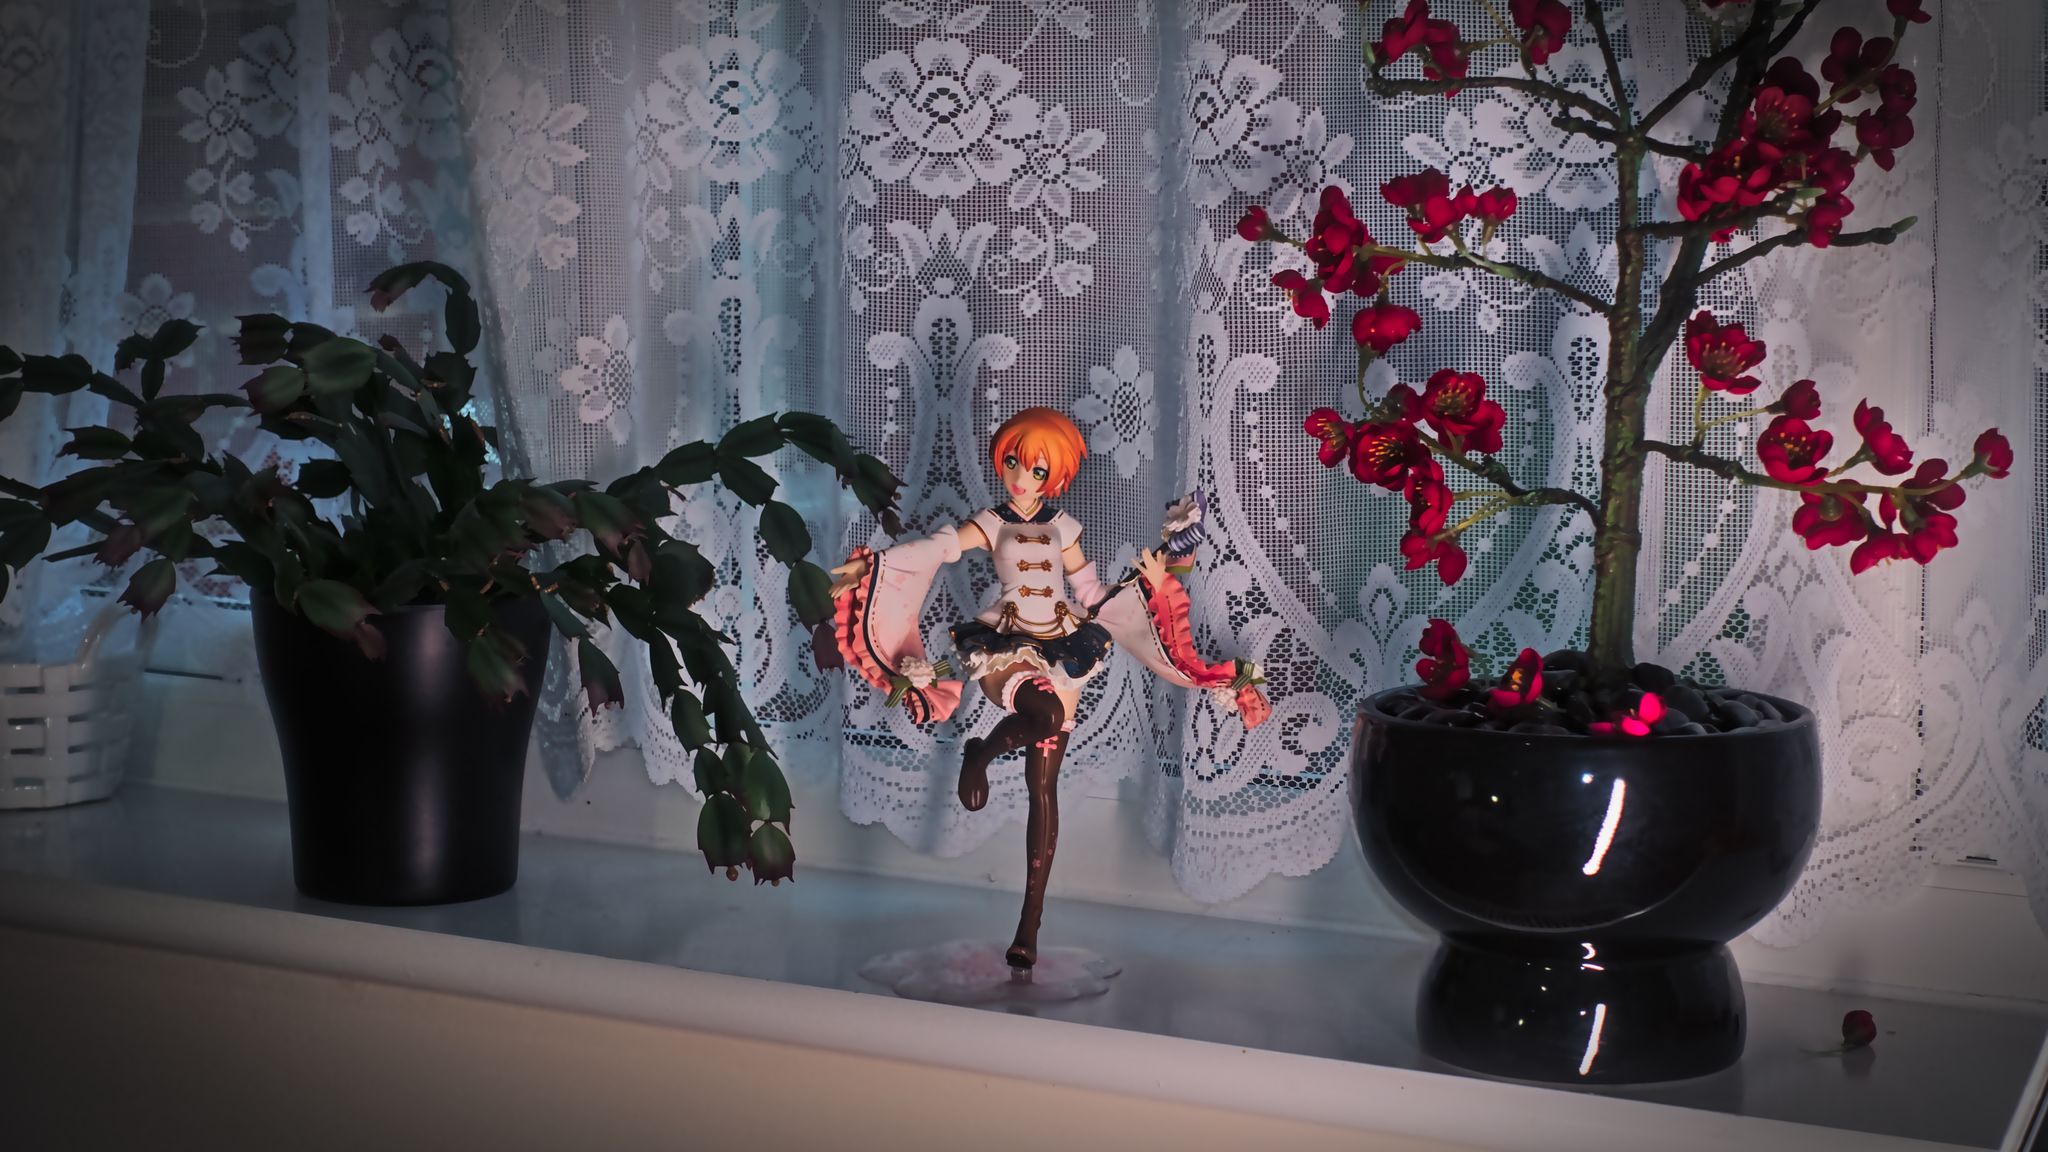 Rin would actually look pretty good displayed on a shelf. Shame about the Sun damage.
Since I’m not going the HDR route this time I needed another way to suppress the dynamic range. To bring down the brightness of the outdoors without making the figure too dark as well.
Then I came across this article on the exposure fusion feature from the Darktable blog.
Basically, it’s like a pseudo HDR but it merges the same photo with itself instead of using separate photos like real HDR. The technique is mainly effective at bringing up the shadows but it also did a decent job at equalizing the bright window with the figure regardless.
There’s one last thing about the editing process I want to point out.
You might have already noticed from the photos that they all seem like they were taken at different times of the day. That’s how fast the Sun sets here during Winter.
That means the colour of the light is constantly changing which also changes the tone of each photo. To combat this I employed a very simple colour grading tip that I got from this tutorial.

By overlaying the same colour over all the photos you can unify the colour palette.
You can see from this illustration that by overlaying some purple at 50% opacity you can turn these 6 wildly contrasting colours into something that looks like they’re from the same theme.
I kept it subtle in the photos but I believe it was effective.

