VFX Collection for the Living Room scene in Unity
Oct 31, 2017 2 min read
[This article assumes basic knowledge of Unity and 3D games]
Color Masking
I started learning to put together my own shaders because not all the assets I downloaded were compatible with Unity’s Standard Shader, which requires certain textures in certain color channels
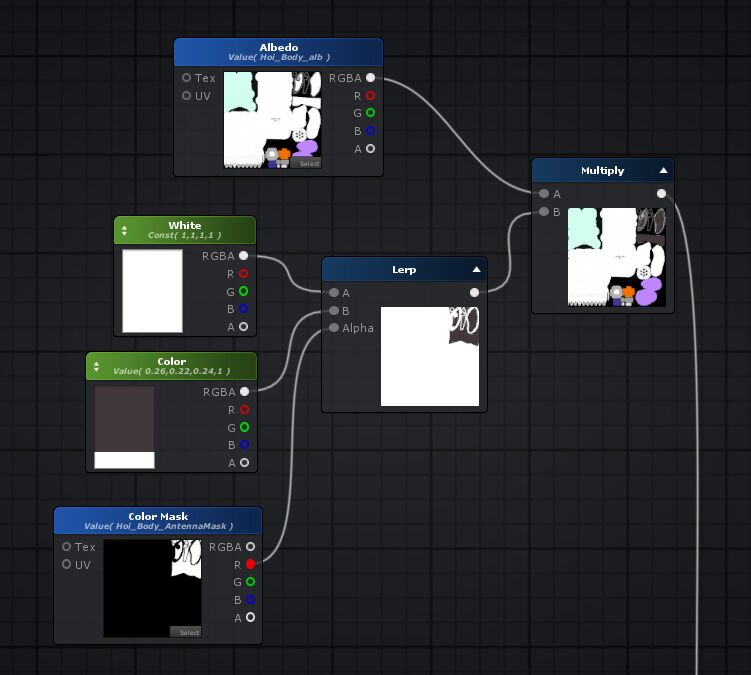
Adding customizable colors to my character’s shader, using a mask texture to specify which parts of the model gets colored, was the first thing I learnt.
I used Amplify’s Shader Editor since it seemed less daunting to learn and I got it cheap during their pre-order beta sale. Unity’s own shader graph editor did not exist yet at this time.
Subsurface Scattering
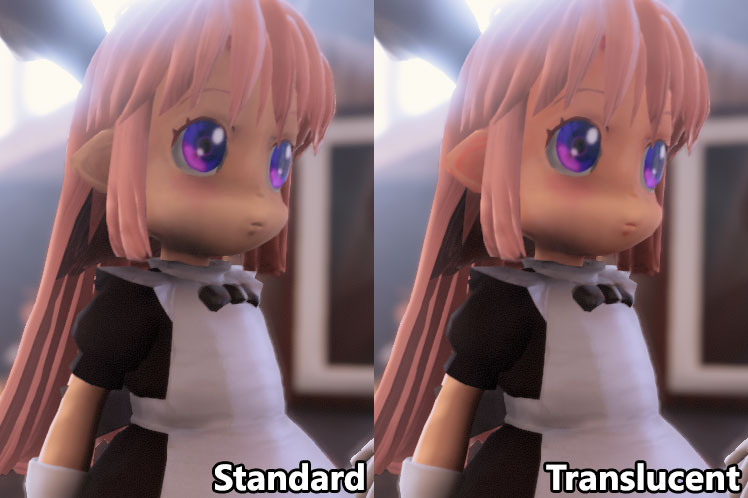
Subsurface Scattering effect: Note the ears
I followed Alan Zucconi’s shader tutorials for a few of my effects, but implemented with Amplify’s Shader Editor instead.
The Subsurface Scattering effect (SSS) is when a translucent material lets some light in, where the light will then bounce about inside the material, before coming back out. Giving the material an almost sort of glow. It can be see in common materials like skin, wax, jade etc. Though in this case Hoihoi-san’s robot skin is made of silicone.
Usually this effect requires a Thickness texture map. I didn’t have a way to generate one of these so I used a hacky method where you reuse the Ambient Occlusion texture map but inverted, which works out pretty well.
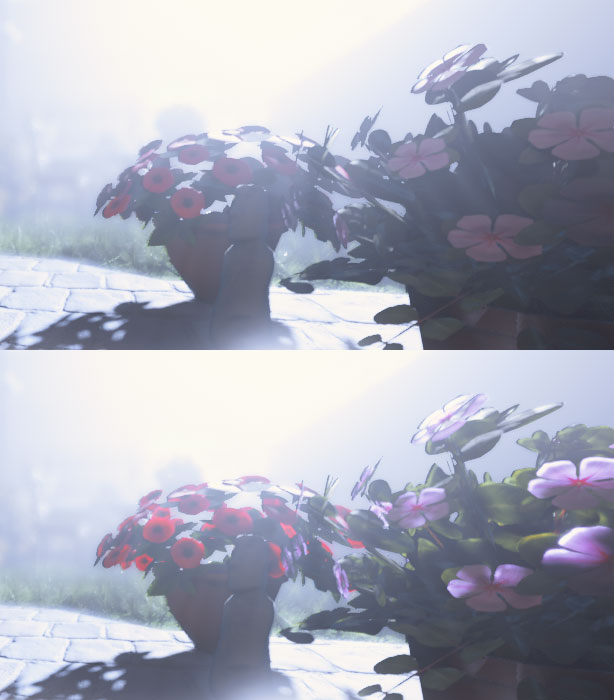
Simplified SSS: Off, On
I used a simplified, more performant version of the SSS shader for the thin materials in the scene such as these flower petals and the curtains.
Iridescence
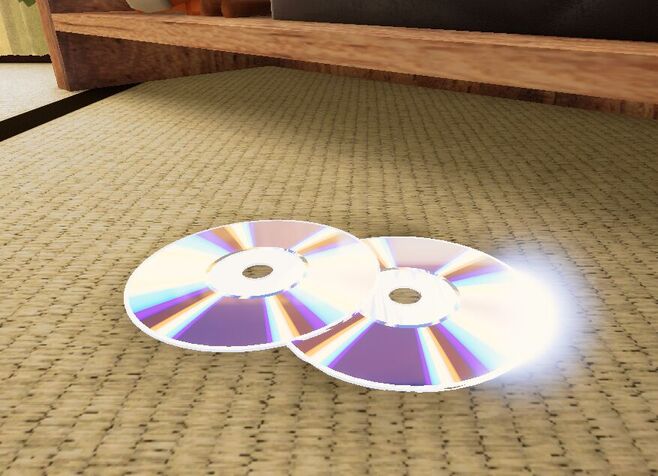
This Iridescent shader is just a 1:1 from the tutorials but it looks cool.
LCD Screen
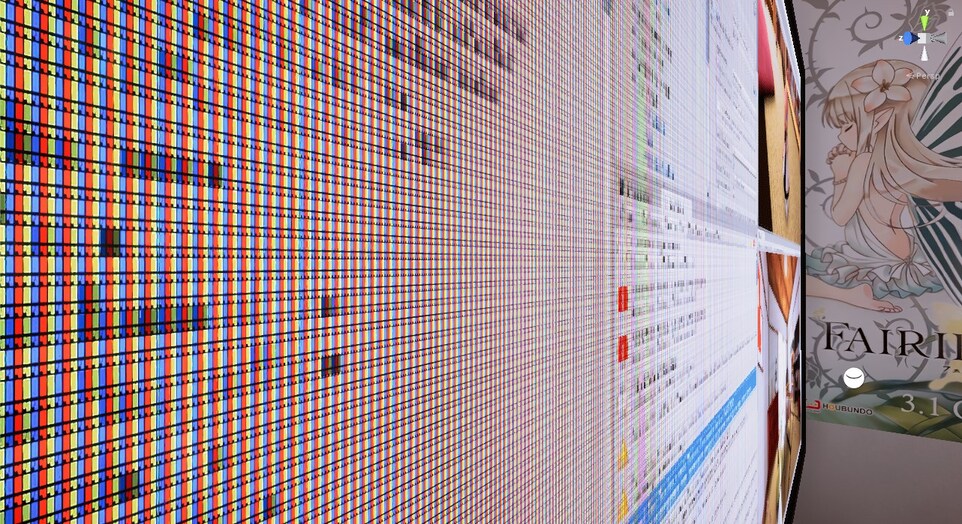
This is a shader that shows the subpixels of a LCD screen when the camera gets close enough.
With each of the RGB subpixels showing the appropriate amount of brightness to represent its pixel.
I found that you can get a smoother zoom out transition than Alan’s tutorial by using mipmaps.
I layered the shader so there’s also a glossy glass material on top of the LCD pixels which you can see when the screen is off.
I used Unity’s new Timeline feature, which is for setting up sequences of events, to fade the screen on/off when the Player bumps into the computer mouse.
Cables
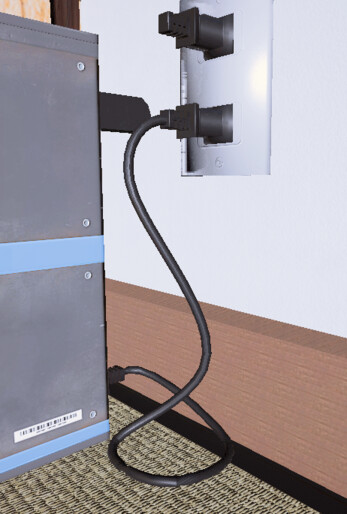
I picked up a plugin called Mesh Deformer in an Asset Store sale which let me create cables in the Unity Editor to match my scene. I modelled the plug ends in Blender.